Adobe Photoshop Lightroom has a handy tool that you can use to quickly remove chroma (color) noise in photos.
First, make sure the photo you want to perform the NR (noise reduction) on is already selected in the Library.
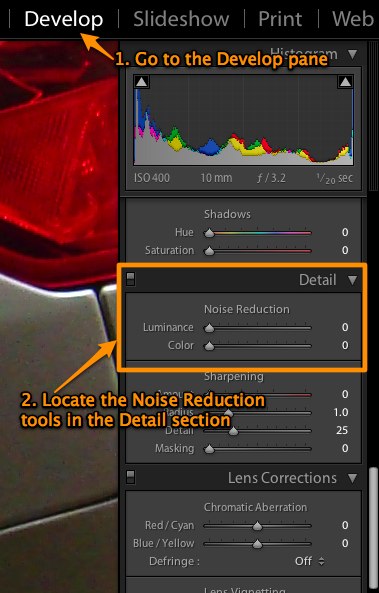
Step 1: With the photo open in Lightroom, click Develop.
Step 2: Grab the scroll bar on the right and scroll through the list of adjustments until you come to the Detail section. Click the screen capture below for a larger version.
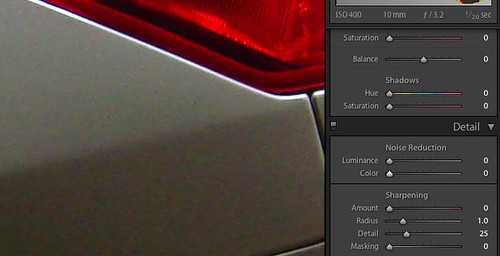
Do you see the color noise on the white paintwork?
Step 3: Adjust the Color slider in the Noise Reduction section until the chroma noise is reduced to a satisfactory level. Try not to go beyond what’s necessary as too much reduction would de-saturate important color areas in the photo. Click the screen capture below for a larger version.
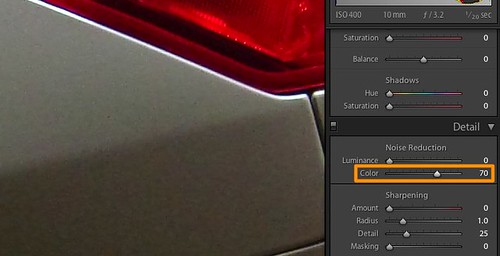
I had to use the value 70 for this photo.
Hope this helps, and let me know if you have any questions.