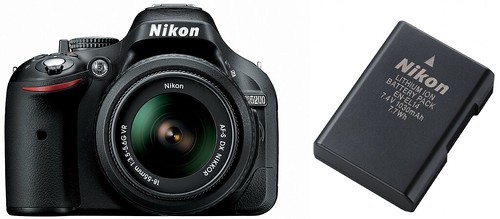
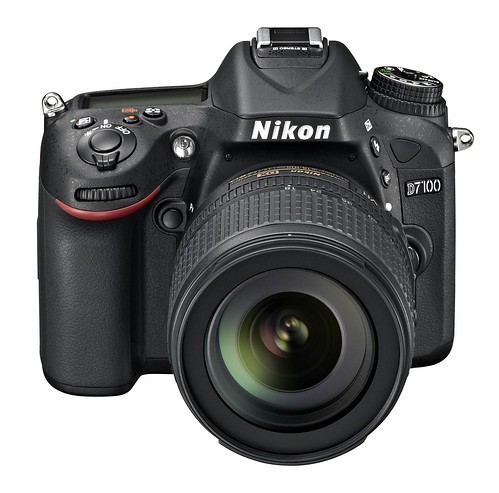
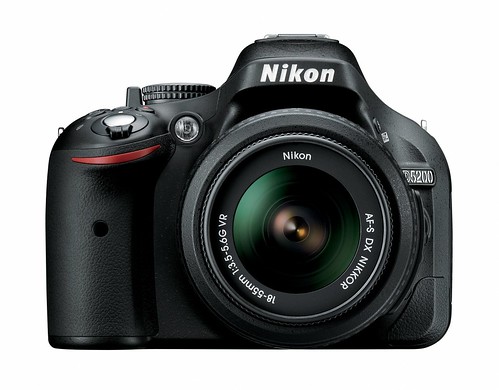
The Nikon D5200 battery life numbers (how many photos can be taken before power from the Nikon EN-EL14 7.4V, 1030 mAh lithium ion battery pack runs out) in this article is compiled from the Nikon D5200 Manual and the Nikon D5200 specifications page.
Nikon provides two sets of battery life figures, one based on the CIPA standard, and the other on their in-house, Nikon standard.
Only a single power supply condition is tested, namely, using one fully-charged EN-EL14 in-camera.
Nikon D5200 battery life in single-frame release mode, measured using CIPA standard: Approximately 500 shots.
The above figure was calculated based on CIPA (Camera & Imaging Products Association) testing standards (see the section titled “Standard Procedure for Measuring Digital Still Camera Battery Consumption” for more information) and obtained in the following manner (quoted from the Nikon D5200 Manual):
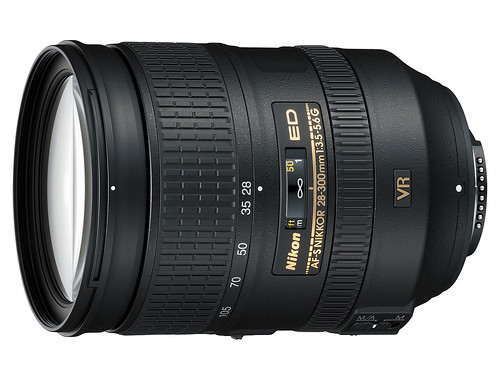
Measured at 23°C / 73.4°F (±3°C/5.4°F) with an AF-S DX NIKKOR 18–55mm f/3.5–5.6G VR lens under the following test conditions: lens cycled from infinity to minimum range and one photograph taken at default settings once every 30 s; after photograph is taken, monitor is turned on for 4 s; tester waits for standby timer to expire after monitor is turned off; flash fired at full power once every other shot. Live view not used.
Nikon D5200 battery life in high-speed continuous release mode, measured using Nikon standard: Approximately 1700 shots.
The above figure was calculated based on the Nikon standard and obtained in the following manner (quoted from the Nikon D5200 Manual):
Measured at 20°C / 68°F with an AF-S DX NIKKOR 18–55mm f/3.5–5.6G VR lens under the following test conditions: vibration reduction off, continuous high-speed release mode, focus mode set to AF-C, image quality set to JPEG basic, image size set to M (medium), white balance set to AUTO, ISO sensitivity set to ISO 100, shutter speed 1/250 s, focus cycled from infinity to minimum range three times after shutter-release button has been pressed halfway for 3 s; six shots are then taken in succession and monitor turned on for 4 s and then turned off; cycle repeated once standby timer has expired.
Nikon D5200 battery life when shooting movies, measured using CIPA standard: Approximately 40 minutes of HD footage at 1080/60i and 1080/50i.
The above figure was calculated based on CIPA (Camera & Imaging Products Association) testing standards (see the section titled “Standard Procedure for Measuring Digital Still Camera Battery Consumption” for more information) and obtained in the following manner (quoted from the Nikon D5200 Manual):
Measured at 23°C / 73.4°F (±3°C/5.4°F) with the camera at default settings and an AF-S DX NIKKOR 18–55mm f/3.5–5.6G VR lens under conditions specified by the Camera and Imaging Products Association (CIPA). Individual movies can be up to 20 minutes in length or 4 GB in size; recording may end before these limits are reached if the camera temperature rises.
Other battery life factors — In the D5200 Manual, Nikon advised that the following will lead to a reduction in battery life, number of shots and video recording times:
- Using the LCD monitor.
- The shutter-release button is kept pressed halfway.
- Autofocus operation is repeatedly performed.
- Shooting NEF (RAW) instead of JPEG images.
- Slow shutter speeds.
- Using the GP-1 GPS unit.
- Using an Eye-Fi memory card with an active wireless connection.
- Using a WU-1a wireless mobile adapter
- VR (vibration reduction) mode on VR lenses is activated.
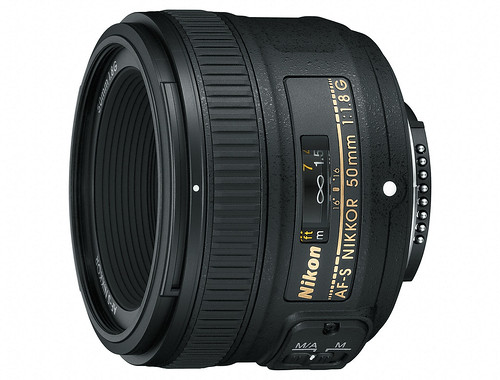
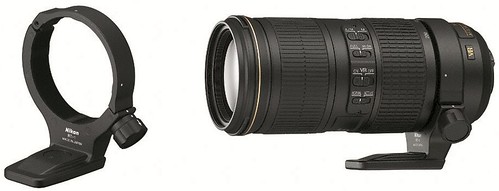
Some lenses draw more power from the camera’s battery during operation due to their physical (heavy lens elements that need more power to move) and electronic (type and technology of the VR employed) properties.
Here’s how you can prolong the life of, and get the most from, rechargeable Nikon EN-EL14 batteries:
- Keep the battery contacts clean as soiled contacts can reduce battery performance.
- Use the batteries as soon as you can after charging as they lose their charge if left unused.
Related
Nikon D5200 — Main page.
]]>


